FOSS Hypervisor Showdown, Part One
# Dec 31 2017 by willRegular readers will remember that I’m still pissed at Citrix for some of their recent product feature level decisions; and I’m not alone. I’ve updated my last post with some early info on XCP-ng already, but it’s very early days there, so there’s no real certainty of when it will come about.
To that end, I’ve been re-visiting some of the various other platforms I’ve used over the years for headless server virtualization. And before some of you ask, no I won’t be talking about VirtualBox with its --type headless VM start options and crazy hand-hacked SysV init-scripts to start them.
Not here, not anywhere.
Ever.
Hardware
What I had available to test with is a bit older, but still a pretty good workhorse:
- HP ProLiant DL160 G5
- 2x Intel® Xeon® E5520 @ 2.27GHz
- 32GB DDR3 ECC
- 4x 1tb Seagate Barracuda in RAID5 on an HP SmartArray g6 controller.
- 2x Intel GBE nic
Nutanix
I really wanted to try out Nutanix’s’ “hyperconverged” setup, so I gave in to my child-like exuberance and tried that first.
Disappointingly, after going through all the hoops to actually get a copy of the Community Edition install image, my available hardware didn’t meet the storage latency requirements during the install process. I suppose I could have gone and replaced all the drives with SSDs, but I don’t have 4x of the same size handy to re-make the array out of. This server is also a fairly close analog of the hardware that runs the day job, if maybe a bit longer in the CPU tooth. They don’t have SSD arrays, either.
Perhaps it’s for the best, using a Community Edition of an otherwise for-pay product is what got us where we are with Citrix in the first place. Maybe I’ll revisit this at some point in the future.
oVirt
Next back on the block was the fully open-source oVirt, based on KVM and RedHat’s RHEV-M management server. I hadn’t looked at oVirt since I initially decided on using XenServer some 5 years ago… let’s see how it has grown.
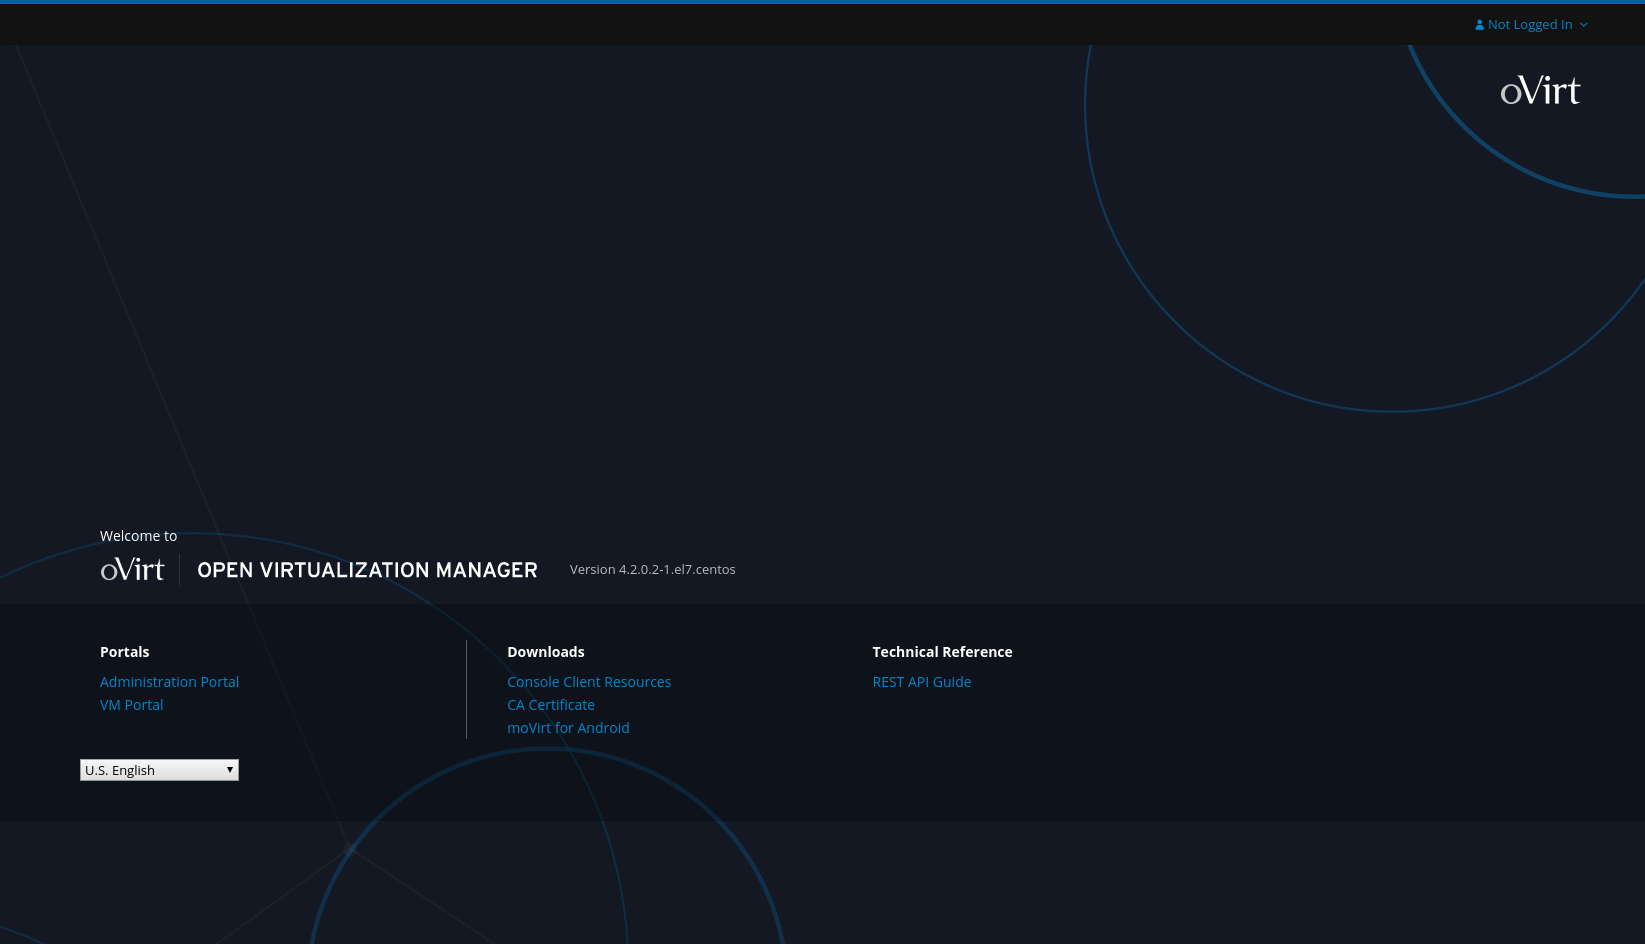
Like XenServer, oVirt is based on CentOS. Unlike XenServer, you can add the oVirt engine on top of an existing CentOS installation, which offers a bit of flexibility. In a pleasantly surprising FOSS move, oVirt’s documentation is very robust. Following the install guide for the oVirt engine installation and configuration for a single-node setup is dirt simple. It’ll get you to a management node login like this in no time:
After logging into the Administration Portal, there of course comes the configuration portion of the test. It came pre-configured with a ‘Default’ datacenter; think of these like a meta-container for all clusters, hosts, storage domains, etc. I just renamed the default and added the local “management” node to it, which took a bit to do all the VM hosting node installation stuff over SSH.
This took a fair amount of time, but gave me ample time to think about it. Adding more host nodes would be easy, all you need to do is a base CentOS install and network it, then point to it in the admin portal and the management engine does all the config to basically make the second physical host a cluster slave behind the scenes. Makes me wish I had more hardware to test that bit.
The next step, configuring storage on the host, goes almost exactly as you’d expect. The VM image storage proved a little tricky, since I wanted to use the local storage on the host itself instead of some remote NFS on a NAS or something (my NAS is pretty busy, still hosting some XenServer VMs and a 4tb media library).
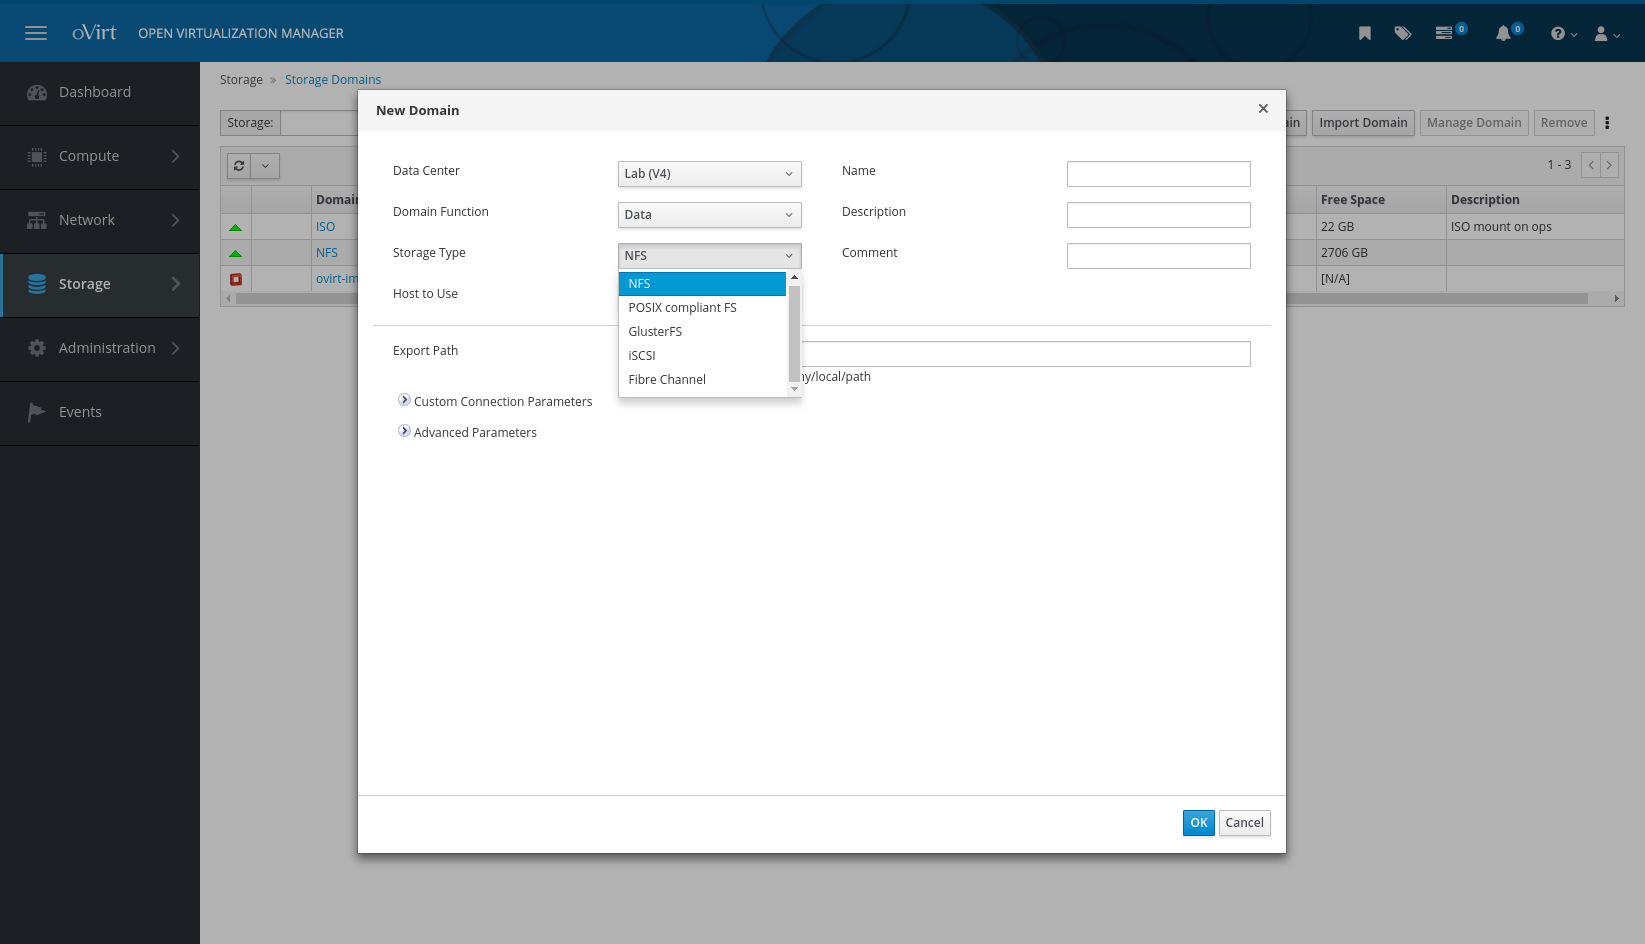
As you can see above, Local Posix Filesystems, NFS, GlusterFS, iSCSI and Fiber Channel are all supported out of the box, but I couldn’t for the life of me figure out the Posix FS option. It kept failing and I couldn’t figure out why. So in the interest of time, I exported a directory on the underlying CentOS install via NFS and used that for image storage. Probably hurt guest disk I/O performance, but for this assessment of the platform it worked just fine.
You have to add a disk image storage “domain” first, but after that you can add the usual ISO repo by changing the Domain Function dropdown and filling out the options. I already had one for XenServer, so it was just a matter of copying the .iso files to the right sub-sub-subfolder after creating the ISO storage domain on my pre-existing NFS share.
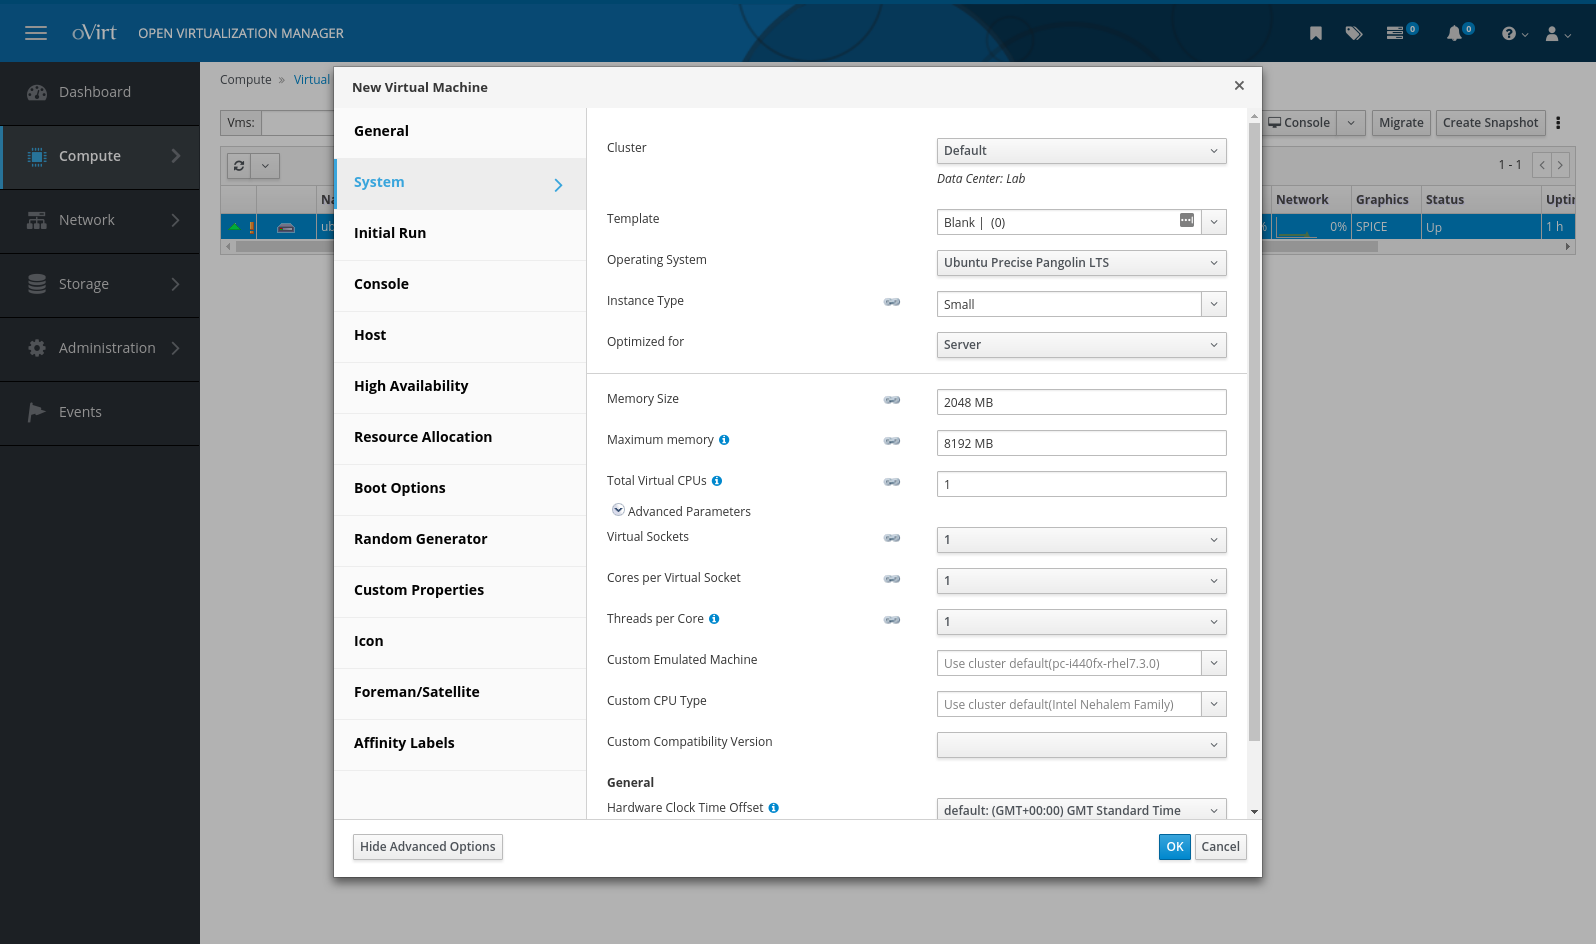
The last portion of the test is creating and working with a VM. Most of my guests are Linux or BSD, so I figured I’d just create something quick to run Ubuntu 16.04, the current LTS, since that’s what I had at hand. Creating a VM offers a huge array of customization options, much more so than I’m used to with a hypervisor…
I mean, that’s just on the one tab. The options are honestly staggering (you can change boot order via a dropdown, just like if the VM had a real BIOS!), but pretty straightforward. The only one that caught me up was the VM console. There’s three options; guest-native RDP (Windows, blegh), VNC (ho-hum), and something I’d never seen before called “SPICE”. The latter is the default, so I went with that.
Turns out, SPICE is a neat little thing that works over SSL with per-host keys and generated, one-time-use passwords and auth tokens. The passwords have a pre-defined lifetime, the connection info files are timestamped and even set to tell the client to delete them after connecting, so there’s no lingering info in your downloads folder to leak if someone steals your laptop… I nearly fainted. You have to have a client for it on whatever machine you’re using as a workstation, but it’s not difficult to find, Arch even has it in the Community repo.
After I recovered from that little diversion creating and booting the VM to install Ubuntu from the ISO was as expected, albeit a bit sluggish where disk performance was concerned. Loopback NFS and whatnot. But it worked perfectly well, and I have an Ubuntu VM running and acting just like it does on other hypervisors.
The final and perhaps most crucial part of the evaluation is how .ov[af] import / export is handled. Sadly, many people at the day job just lurve running VMs locally in VirtualBox (‘cause it’s free) on their laptops so they can have their own little development fiefdoms, but still having the “quick” import / export ability to run the same VMs on a network host for collaborative use. Developers, what can I say? I think it’s partly an excuse to demand more powerful laptops as they collect VMs, but whatever.
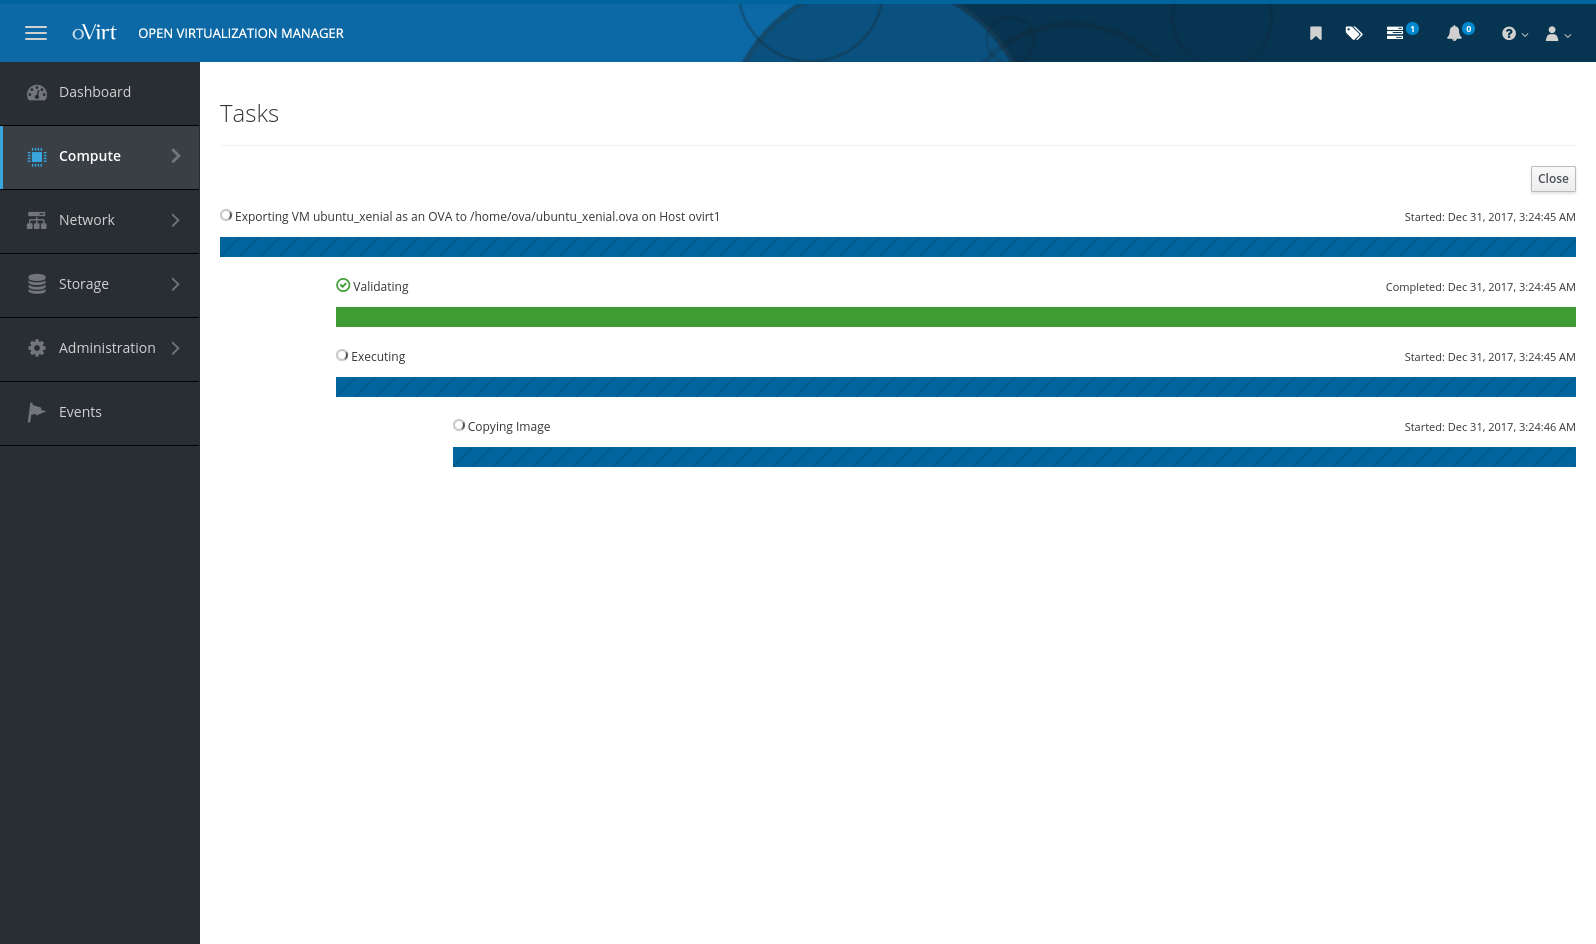
Exporting has an easy-to-find UI, albeit the only option is to dump to the local filesystem of the host, which I found weird. Regardless, it churned for a good while and looked promising… but ultimately failed. Womp-womp. I tried several times, adjusting export locations, permissions etc, even creating an “Export” storage domain. All failures. It exports to its native format just fine, which as it turns out is an oddly-stored raw QEMU style image and an .ovf file that describes the VM:
[root@ovirt1 8b79d553-fc5c-44d1-a744-dbd6347c795c]# tree
.
├── dom_md
│   ├── ids
│   ├── inbox
│   ├── leases
│   ├── metadata
│   └── outbox
├── images
│   └── a17a9194-89ee-4bbf-b7cd-aa8d6776146a
│       ├── 451cbe63-8284-4dd9-8c0d-c68e7d5d47db
│       └── 451cbe63-8284-4dd9-8c0d-c68e7d5d47db.meta
└── master
    ├── tasks
    └── vms
        └── 0e5467b6-1b00-468c-9885-0655ed39e73c
            └── 0e5467b6-1b00-468c-9885-0655ed39e73c.ovf
Copying these two files and attempting to build a VBox guest with them failed spectacularly, and condensed XML is such a picky bastard to try to modify that maybe I’ll have enough interest to look deeper into that later. Much later.
Similarly, I could find no UI method to import a previously exported VM, other than from this native format; and even then you have to manually copy a similar folder structure and attendant metadata to the “Export” storage domain first… Some research on the subject reveals that there really isn’t a good way to import an .ov[af] format appliance at all, though it is on the roadmap, currently marked as “Status: planning”.
So it looks like despite its many neat-o features, I can’t justify trying to use it for the day job thanks to the omission and mishandling of .ova formats. Boo. I’ll definitely remember it for more static server deployments, however, as it seemed rock-solid and very feature full, other than this one specific deal-breaker for this one specific Java shop.
I’m going to call it here for now, I’ll have part two up soon with an overview of the same process with ProxMox VE, another of the “Pay for Support” type of FOSS offerings, also based on KVM and LXC containers. We’ll see how that goes, maybe it’ll behave better with the all-important (to some) .ova workflow.


